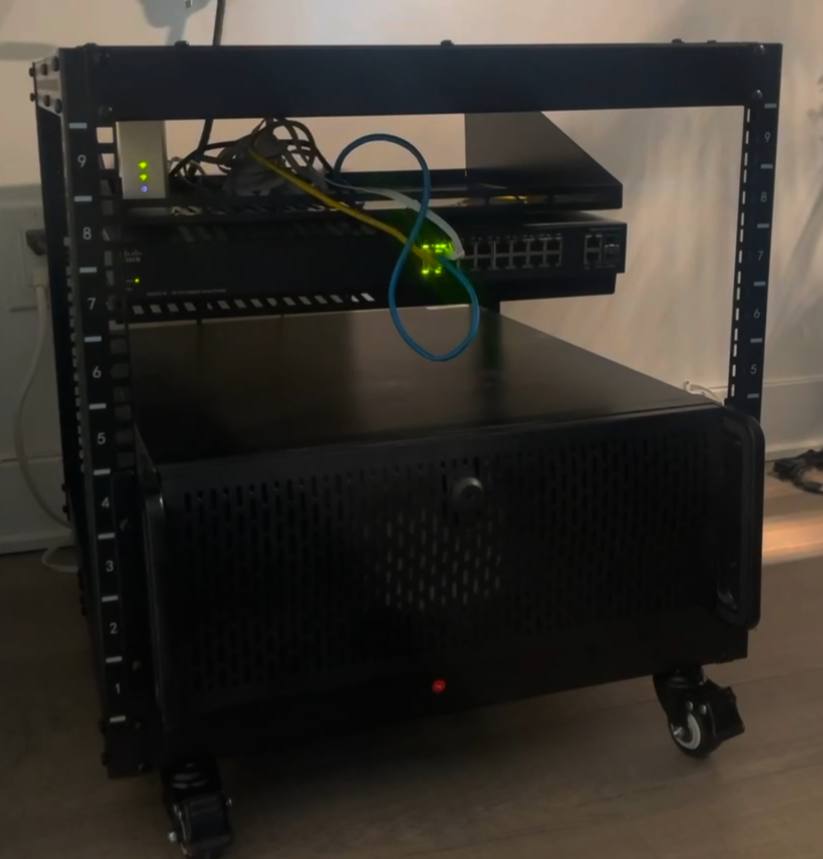
Initial Goals
Over the past few weeks, I’ve been making some big changes to my home lab setup. I finally decided to ditch the 4U server chassis crammed into a glass shelf and upgrade to a proper server rack. The rack arrived in pieces, and assembling it turned out to be way more work than I expected. Every single screw seemed to resist going in, and the whole process dragged on for two days. But once it was up, it looked fantastic, and I could already see how much better it would handle airflow and organization.
Hardware Upgrades
Along with the rack, I picked up a managed switch and a Topton mini PC. The mini PC comes with an Intel N100 CPU, 16GB of RAM, and hardware cryptography support. My plan was to use it for intrusion detection and to replace my ISP’s basic router with something more powerful. While the ISP-provided router was stable, it only offered the bare minimum—basic packet inspection and DNS filtering, with no real intrusion detection.
Initially, I thought about buying a Ubiquiti Dream Machine, but I ended up going the DIY route. The mini PC offers more flexibility, and I won’t be locked into any specific vendor. It also has the bonus of being easy to repurpose if I ever want to use it for something else. The PC’s shipping got delayed because of a postal strike, but the seller refunded me, so it worked out in the end.
Once it arrived, I put my ISP router into bridge mode and got to work setting up OpenSense on the mini PC. The setup process was surprisingly simple and took under three minutes. For the first few days, I ran OpenSense directly on the hardware, dedicating two of the mini PC’s four Ethernet ports to WAN and LAN. Everything worked perfectly. The only problem? The hardware was severely underutilized, with CPU and RAM usage sitting below 10%.

Virtualization and Clustering
That’s when I decided to switch things up. Instead of dedicating the entire mini PC to OpenSense, I installed Proxmox to virtualize it. This way, I could run other virtual machines and containers alongside OpenSense. The installation went smoothly, but things got tricky when I tried to integrate the mini PC into my existing Proxmox cluster.
Cluster Chaos and Configuration Woes
Adding the mini PC to the cluster seemed like a straightforward idea—until it wasn’t. In the process, I accidentally overwrote the configuration files on my main server. Suddenly, my entire setup went down. None of my virtual machines or containers were accessible, and I spent hours trying to troubleshoot. Eventually, I managed to recover everything by restoring a backup of the main server’s configuration. Lesson learned: always back up configuration files before making changes.
To make sure this never happens again, I started using BorgBackup to version-control my configuration files. It’s been a lifesaver and gives me the confidence to experiment without risking major downtime.
Here is an automated script to create deduped backups by proxmox machine:
#!/bin/bash

# Define the base path for machine backups
BASE_REPO="/pools/POOL/machines"

# Get system information
HOSTNAME=$(hostname)
IP_ADDRESS=$(hostname -I | awk '{print $1}')      # Get the first IP address
#MAC_ADDRESS=$(cat /sys/class/net/eth0/address)    # Assuming eth0 is the interface; adjust if needed

# Define the repository directory using hostname, IP, and MAC
REPO="${BASE_REPO}/${HOSTNAME}_${IP_ADDRESS}"

# Check if the Borg repository exists
if [ ! -d "$REPO" ]; then
    echo "Borg repository not found at $REPO. Initializing repository..."
    # Initialize the Borg repository
    borg init --encryption=none "$REPO"
    echo "Borg repository initialized at $REPO"
else
    echo "Borg repository already exists at $REPO"
fi

# Define the backup name based on the current date and time
BACKUP_NAME="backup_$(date +'%Y-%m-%d_%H-%M-%S')"

# Define the directories and files to back up
FILES_TO_BACKUP=(
    "/var/lib/pve-cluster/config.db"         # Proxmox cluster config
    "/etc/pve/corosync.conf"                 # Corosync config for cluster communication
    "/etc/pve"                               # Proxmox configuration directory
    "/var/log/pve-cluster"                   # Logs for Proxmox cluster
    "/etc/network/interfaces"                # Network interface configurations
    "/etc/hosts"                             # Hosts file
    "/etc/hostname"                          # Hostname configuration
    "/etc/resolv.conf"                       # DNS resolver configuration
    "/etc/network/interfaces.d"              # Additional network configurations if any
    "/etc/ssh/sshd_config"                   # SSH server configuration
    "/etc/sysctl.conf"                       # Kernel tuning parameters
    "/etc/fstab"                             # Filesystem table (mount points)
    "/etc/default/grub"                      # Bootloader configuration
    "/etc/apt/sources.list"                  # APT repository configuration (for package updates)
    "/etc/apt/sources.list.d"                # Additional APT repositories
    "/etc/lvm"                               # LVM configuration files (if using LVM)
    "/etc/zfs"                               # ZFS configuration files (if using ZFS)
    "/etc/netplan"                           # Network configuration if using netplan
    "/etc/pve/user.cfg"                      # Proxmox user authentication settings
    "/etc/pve/priv/"                         # Proxmox private authentication keys
    "/etc/pve/firewall/"                     # Proxmox firewall configurations
    "/etc/pve/qemu-server/"                  # QEMU/KVM VM configuration files
    "/etc/pve/lxc/"                          # LXC container configuration files
    "/var/log/syslog"                        # System logs
    "/var/log/messages"                      # Additional system logs
    "/var/log/pve/"                          # Proxmox logs
    "/usr/local/bin/"                        # Custom scripts
    "/etc/systemd/system/"                   # Custom systemd services
    "/etc/proxmox-backup/"                   # Proxmox Backup Server configuration
)

# Run the backup using Borg, excluding large files
borg create --verbose --compression lz4 \
    "$REPO::$BACKUP_NAME" "${FILES_TO_BACKUP[@]}"

# Optional: Prune old backups (keep the last 7 backups)
borg prune --keep-last 7 "$REPO"
Network Outages and Hard Lessons
While setting up the mini PC as a router, I ran into another challenge: network-wide outages every time I rebooted it or made a misconfiguration. Without an active DHCP server or DNS resolver, none of my devices could communicate. To fix these issues, I had to connect directly to the mini PC via Ethernet, which was a hassle but got the job done.
After a lot of trial and error, I decided to start fresh. I wiped the mini PC, reinstalled Proxmox, and carefully reconfigured it as a node in the Proxmox cluster. This time, I made sure it used the same subnet as the rest of my network, which simplified management and reduced headaches.
Planning for High Availability
With the two-node cluster finally stable, I’ve started thinking about high availability (HA). Right now, I’m planning to add a third node to the cluster. I might use an old MacBook for this since it’s just sitting around gathering dust. A three-node setup would let me implement storage replication and enable live migration for my VMs and containers.
I’m also trying to troubleshoot occasional hangs on my main 4U server. It’s hosting over 150 Docker containers, and while there’s no obvious CPU or memory bottleneck, the system still freezes from time to time. Diagnosing the issue has been tricky, but I’m optimistic about finding a solution.
Wrapping Up
This whole project has been a mix of frustration and satisfaction. On one hand, the technical challenges have been maddening. On the other hand, it’s incredibly rewarding to see everything come together. I’ve learned a ton about Proxmox, OpenSense, and managing clustered systems, and I’m excited to keep refining my setup.
If you’re working on a similar project or just getting started with home labs, feel free to share your experiences or ask questions. I’m always happy to geek out over this stuff!